No products
Prices are tax excluded
Product successfully added to your shopping cart
There are 0 items in your cart. There is 1 item in your cart.


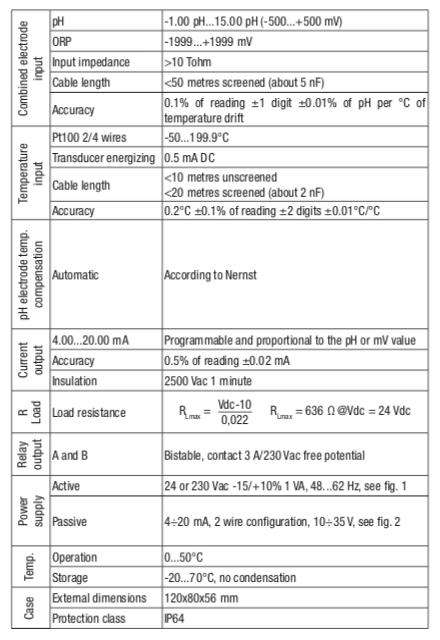
DO9403T-R1 pH / mV Transmitter
DO9403T-R1
New
The DO9403T-R1 pH transmitter converts the output of a pH electrode, with temperature compensation, into a 4÷20 mA signal. The pH or Redox electrode input circuit is galvanically isolated from the 4÷20 mA output signal.
An LCD indicator allows to display the value of the process signal and the various parameters. The accurate design and choice of the components make the instrument precise and reliable over time.
The instrument works with a pH or Redox electrode and a temperature probe (Pt100 sensor, 100 Ω at 0°C).
- More info about this product.
- Remove this product from my favorite's list.
- Add this product to my list of favorites.
- Key functions:
PRG
Programming of the parameters is activated by pressing the PRG key. The
Δ symbol lights up on the display and the message P1 appears to indicate that the parameter P1 is being programmed. Continuing pressing the PRG key, the messages P2, P3, P4, P5, P6, P7, P8, P9, P10 and the corresponding parameters are displayed in sequence. After P10 the instrument returns to normal function.
After displaying the parameter of interest, it is possible to view the value by pressing the OK button. In order to change the parameter, use the ▲ and ▼ buttons. Press the OK button again to confirm the value of the parameter.
SET
Key for setting the relay intervention threshold. The Δ symbol and the REL symbol appear on the display, fixed or flashing, indicating the switching on or off threshold of relay A or of relay B.
°C/°F
- If this key is pressed it changes the temperature measuring unit to degrees Celsius or degrees Fahrenheit.
- When pressed together with the CAL key it activates the manual temperature setting function.
- If pressed during the pH calibration function it quits the calibration function without storing the calibration.
pH/mV
-If this key is pressed it changes the measuring unit to mV or pH.
- When pressed together with the CAL key it activates the pH calibration function.
OK
Confirms the programming parameters, or the relay SET values, and stores them.
CAL
- When pressed together with the °C/°F key it activates the manual
temperature setting function.
- When pressed together with the pH/mV key it activates the pH calibration function.
- Key used to confirm pH calibration and manual temperature setting.
▲
- Key for increasing the value displayed in the parameter programming phase. - During the relay SET point programming phase.
- During the calibration phase.
▼
- Key for decreasing the value displayed in the parameter programming phase. - During the relay SET point programming phase.
- During the calibration phase.
- Setting the relay SET point:
- Press the SET button; the Δ symbol appears on the display.
- The REL symbol and the letter A also light up on the display to indicate that the
value shown corresponds to the switching on threshold of relay A.
- To change this value press the ▲ and ▼ buttons.
- Press SET; the REL symbol flashes and the letter A remains lit to indicate that the value shown corresponds to the switching off threshold of relay A.
- To change this value press the ▲ and ▼ buttons.
- Press the SET button; the REL symbol and the letter B light up to indicate that the value shown corresponds to the switching off threshold of relay B.
- To change this value press the ▲ and ▼ buttons.
- Press SET; the REL symbol flashes and the letter B remains lit to indicate that the value shown corresponds to the switching off threshold of relay B.
- To change this value press the ▲ and ▼ buttons.
- Press SET, the instrument stores the set parameters and returns to normal
function. The REL and Δ symbols disappear.
NOTE: During the SET point setting phase (REL symbol lit or flashing) the instrument returns to normal function if no key is pressed for 2 minutes.
- Manual temperature setting:
If the temperature probe is not connected or if the probe is broken the measuring unit °C or °F flashes. In this case it is possible to set the temperature compensation value manually.
- Press the CAL key and the °C/°F key together; the Δ symbol appears and the
manual temperature is shown with the measuring unit flashing.
- By using the ▲ and ▼ buttons, set the temperature value corresponding to the
temperature of the liquid in which you wish to measure the pH.
- Press CAL to confirm this value. The Δ symbol switches off and the instrument
returns to the previous display.
- Calibration of the pH electrode:
Calibration of the offset of the pH electrode:
- Immerse the electrode in the buffer solution used for calibrating the offset (6.86
pH).
- Press the CAL key and the pH/mV key together; the Δ symbol lights up on the
display.
- By using the ▲ and ▼ buttons, adjust the pH value measured as a function of the liquid temperature.
- Press CAL to confirm this value. The Δ symbol switches off.
Calibration of the slope of the pH electrode:
- Immerse the electrode in the buffer solution used for calibrating the slope (4.01 or 9.18 pH).
- Press the CAL key and the pH/mV key together; the Δ symbol lights up on the display. - By using the ▲ and ▼ buttons, adjust the pH value measured as a function of the liquid temperature.
- Press CAL to confirm this value. The Δ symbol switches off.
NOTE: If you want to quit without storing the new calibration, press the °C/°F key. N.B.: The instrument can automatically recognize three standard calibration solutions: 4.01 pH, 6.86 pH and 9.18 pH.
- Programming the parameters:
P1 Control of relay unit and analog output, pH or mV.
P2 pH/mV value corresponding to 4 mA at output. May be set between -1.00 pH
and 15.00 pH or between -1999 mV and +1999 mV.
P3 pH/mV value corresponding to 20 mA at output. May be set between -1.00 pH and 15.00 pH or between -1999 mV and +1999 mV.
P4 Delay time in the intervention of relay A. May be set between 0 and 255 seconds.
P5 Delay time in the intervention of relay B. May be set between 0 and 255 seconds.
P6 Calibration of Pt100 probe.
P7 4 mA output current calibration.
P8 20 mA output current calibration.
P9 Input voltage calibration.
P10 Display of the offset voltage value and of the slope value of the electrode.
To change one of these parameters press key PRG until the message corresponding to the parameter to be changed appears on the screen.
Press OK to show the value of the parameter.
By using the ▲ and ▼ buttons, bring the parameter displayed to the desired value. Press OK again to confirm.
Parameter P10 cannot be altered, it can only be displayed.
NOTE P6-P7-P8-P9: calibration procedure to be carried out at a laboratory by
skilled workers.
- Pt100 probe calibration (100 Ω at 0°C):
(Calibration procedure to be carried out at a laboratory by skilled workers)
- Connect the Pt100 probe to the instrument. Press the PRG key until the message P6 appears on the display.
- Press the OK key; the currently measured temperature appears on the display.
- Immerse the Pt100 probe and a precision thermometer for reference in the zero calibration bath. Wait long enough for the reading to become stable.
- By using the ▲ and ▼ buttons, adjust the value of the temperature measured by the Pt100 probe so that it corresponds with the value on the reference
thermometer.
- Immerse the Pt100 probe and a precision thermometer in the full scale calibration
bath. Wait long enough for the reading to become stable.
- By using the ▲ and ▼ buttons, adjust the value of the temperature measured
by the Pt100 probe so that it corresponds with the value on the reference
thermometer.
- Press OK to confirm. To quit programming, press PRG repeatedly.
N.B.: If the temperature shown by the instrument is between ±12°C, the instrument calibrates the probe offset, otherwise it calibrates the gain.
- Calibrating the analog output:
(Calibration procedure to be carried out at a laboratory by skilled workers)
- Connect a precision milliamperometer to the analog output.
- Press the PRG key until the message P7 appears on the display.
- Press OK; the message 4.0 appears on the display, indicating calibration at 4 mA.
- By using the ▲ and ▼ buttons, adjust the value of the output current so as to have an indication of 4,00 mA on the precision milliammeter.
- Press the PRG key until the message P8 appears on the display.
- Press OK; the message 20.0 appears on the display, indicating calibration at 20 mA.
- Using the ▲ and ▼ keys, adjust the value of the output current so as to have an indication of 20,00 mA on the precision milliammeter.
- Press OK to confirm. To quit programming, press PRG repeatedly.
- Calibrating the voltage input:
(Calibration procedure to be carried out at a laboratory by skilled workers)
- Press the PRG key until the message P9 appears on the display.
- Press OK; the mV value of the input appears on the display.
- Simulate a voltage of 0 mV at the input (if the value is between ±25 mV the zero is calibrated, otherwise the full scale value is calibrated).
- Using the ▲ and ▼ keys, adjust the voltage value so as to have the correct
voltage value on the display.
- Press the SET key, the REL symbol lights up on the display indicating that the
instrument is measuring the voltage present at the input using the second
measurement scale.
- Using the ▲ and ▼ keys, adjust the voltage value so as to have the correct
voltage value on the display.
- Press the SET key, the REL symbol on the display switches off.
- Simulate a voltage of 450 mV at the input, corresponding to the full scale value of the first scale.
- Using the▲ and ▼ keys, adjust the voltage value so as to have the correct
voltage value on the display.
- Simulate a voltage of 1800 mV at the input, corresponding to the full scale value of the second scale.
- Using the ▲ and ▼ keys, adjust the voltage value so as to have the correct
voltage value on the display.
- Press OK to confirm. To quit programming, press PRG repeatedly.
- Display:
Symbol description:
°C indicates that the value shown is in °C.
°F indicates that the value shown is in °F.
pH indicates that the unit of the value shown is pH.
mV Indicates that the unit of the value shown is milli Volts.
A indicates that the relay A is in closed status.
B indicates that the relay B is in closed status.
REL
- indicates that the value shown corresponds to the closing
thresholds of the contacts of relay A or B;
- indicates that the offset of the second voltage measurement scale is being calibrated.
REL flashing
indicates that the value shown corresponds to the opening thresholds of the contacts of relay A or B.
- indicates that the instrument is in the parameter setting phase;
- indicates that the closing and opening thresholds of relays A and B are being changed;
- indicates that the manual compensation temperature is being changed;
- indicates that the pH electrode is being calibrated.
- Error signals:
OFL - Warning which appears during measurement when the value to be displayed is out of scale.
E1 - Error warning which appears during pH calibration to indicate that the offset
value of the electrode is too high in absolute value.
E2 - Error warning which appears during pH calibration to indicate that the
difference between the mV readings given by the two buffer solutions used for
calibration is too great.
E3 - Error warning which appears during pH calibration to indicate that the mV
readings given by the two buffer solutions used for calibration are too close
(about 50 mV at 25°C).
E4 - Reading error on the EEPROM.
E5 - Error warning indicating that the slope calculation gives a value 20% lower
than the nominal value or gives a negative value.
E6 - Error warning indicating that the slope calculation gives a value 150% lower
than the nominal value.
- Order code:
DO9403T-R1: pH transmitter 4÷20 mA passive or active, power supply 24 Vac,120x80x56 mm for use in the field.
HD882 M100/300: Temperature probe with Pt100 sensor, miniature head, shaft Ø6x300 mm.
HD882 M100/600: Temperature probe with Pt100 sensor, DIN B head, shaft Ø6x600 mm.
HD8642: Buffer solution 4.01 pH.
HD8672: Buffer solution 6.86 pH.
HD8692: Buffer solution 9.18 pH.
HDR220: Buffer solution redox 220 mV
HDR468: Buffer solution redox 468 mV
HD62PT: Diaphragm cleaning (tiourea in HCl) - 500ml.
HD62PP: Protein cleaning (pepsin in HCl) - 500ml.
HD62RF: Regeneration (fluorhydric acid) - 100ml.
HD62SC: Solution for electrode preservation - 200ml
CP5T: Extension cable. Connector S7/wire - TERMINAL BOARD.
CP5/10T: Extension cable L=10m.Connector S7/wire.
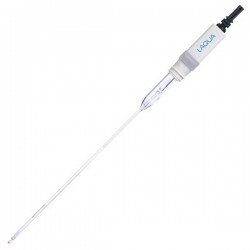
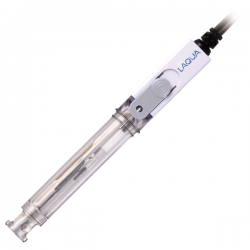
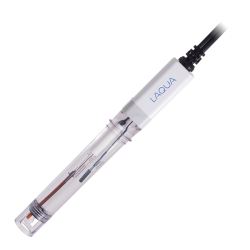
KPI10: Combined industrial electrode, S7 PG13,5 connector, glass body, Ag/AgCl sat KCI, Ø 12x120, temperature 0÷130°C, porous Teflon fitting.
KPI11: Combined industrial electrode, S7 PG13,5 connector, Rytron body, Ag/AgCl sat KCI, temperature 0÷100°C, porous Teflon fitting.
KPI12: Platinum electrode for Redox measurement,S7 PG13,5 connector, Ag/AgCl sat KCI, temperature 0÷130°C, pressure 6 bar.
KPI13: Platinum electrode for Redox measurement, Rytron body, S7 PG13,5
connector, temperature 0÷100°C Ag/AgCl sat KCl.
30 other products in the same category:
-

DO110...
-
DO110K...
-
DO120...
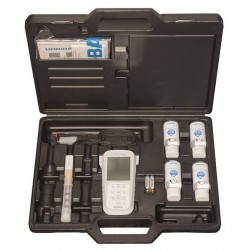
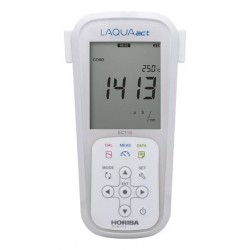
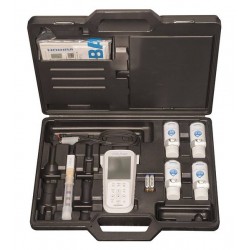
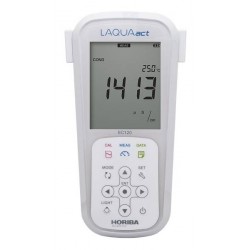
-
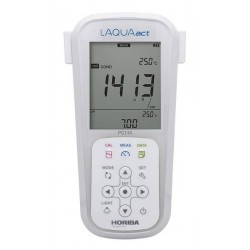
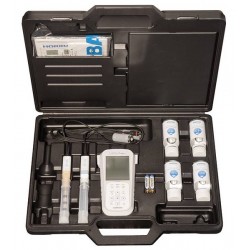
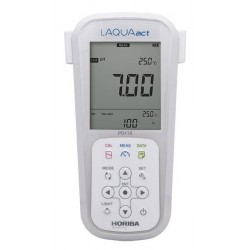
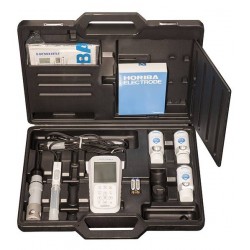
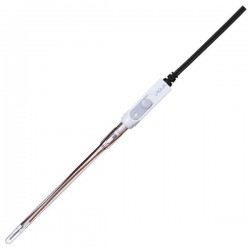
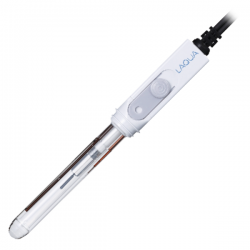
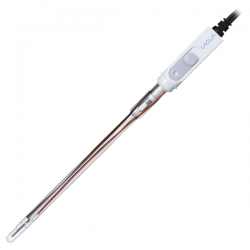
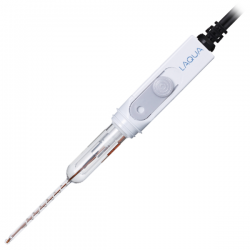
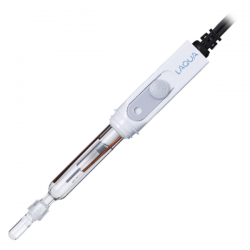
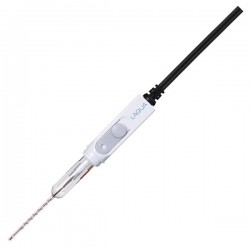
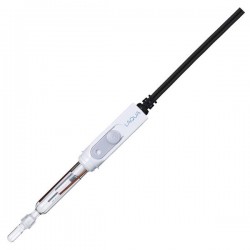
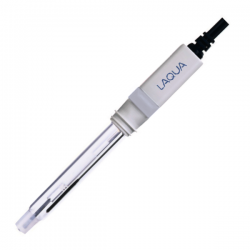
LAQUAact...
260,00 €
-
EC110K...
-
EC110...
-
EC120K...
-
EC120...
-
PC110...
-
PC110K...
-
PD110...
-
PD110K...
-
9480-10C...
-
6069-10C...
-
9625-10D...
-

9630-10D...
-

9632-10D...
-
9651-10D...
-
9615S-10D...
240,00 €
-
9680S-10D...
-
9618S-10D...
-
9681S-10D...
385,00 €
-

6367-10D...
-
9425-10C...
-
6377-10D...
-
6252-10D...
-
9415-10C...
-
9418-10C...
-
9481-10C...
-
6261-10C...